博主介绍:✌程序员徐师兄、7年大厂程序员经历。全网粉丝12w+、csdn博客专家、掘金/华为云/阿里云/InfoQ等平台优质作者、专注于Java技术领域和毕业项目实战,微 xiaoxu_9411✌
🍅文末获取源码联系🍅
👇🏻 精彩专栏推荐订阅👇🏻 不然下次找不到哟
2022-2024年最全的计算机软件毕业设计选题大全:1000个热门选题推荐✅
Java项目精品实战案例《500套》
Java微信小程序项目实战《200套》
Python项目实战《200套》感兴趣的可以先收藏起来,还有大家在毕设选题,项目以及文档编写等相关问题都可以给我留言咨询,希望帮助更多的人
随着人工智能技术的快速发展,人脸识别技术得到了广泛应用。在学校场景中,如何快速、准确地实现学生的上课签到是一个很实用的需求。今天,我们将带大家一起实现一个基于 Python、OpenCV 和 PyQt5 的人脸识别上课签到系统。
这篇文章将从零开始,为新手读者提供详细的代码和实现步骤,即使没有太多基础的同学也能看懂。

目录
一、开发环境准备
在开发之前,我们需要先安装相关的工具和库:
1.1 必要的工具
- Python 版本:建议使用 Python 3.8 或以上版本。
- IDE:推荐使用 PyCharm 或 VS Code 方便调试和运行。
1.2 依赖库安装
以下是项目中用到的核心 Python 库及其功能:
- OpenCV:实现人脸检测和识别。
- PyQt5:构建图形化用户界面。
- dlib(可选):提供高效的人脸关键点检测。
- numpy:处理矩阵和数组运算。
- pandas:管理学生信息及签到数据。
通过以下命令安装这些库:
pip install opencv-python PyQt5 dlib numpy pandas二、系统功能概述
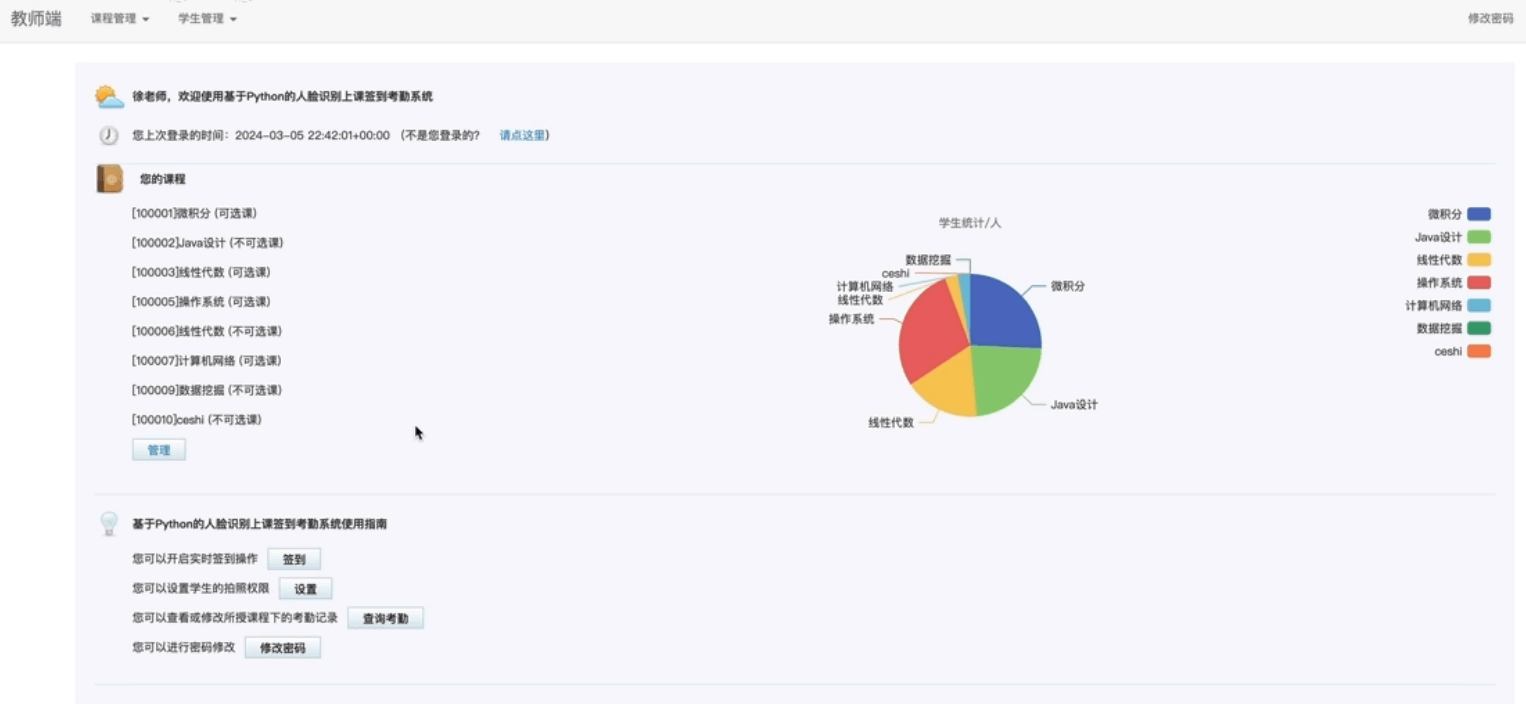
我们的人脸识别签到系统包含以下功能:

- 用户界面
- 提供学生信息管理功能。
- 启动摄像头进行人脸识别。
- 显示签到结果和签到记录。
- 人脸识别功能
- 检测学生的人脸。
- 将人脸与数据库中的信息匹配,确认身份。
- 签到记录管理
- 自动保存签到结果。
- 支持查询和导出签到记录。
三、实现步骤
下面,我们将逐步实现该签到系统。

3.1 学生信息管理
我们需要为每位学生录入信息,包括学号、姓名以及其人脸照片。通过将人脸特征存储到数据库中,系统可快速识别对应学生。
代码示例:录入学生信息
import cv2
import os

def capture_student_face(student_id, student_name):
    # 创建保存人脸数据的文件夹
    if not os.path.exists("student_faces"):
        os.makedirs("student_faces")

    # 打开摄像头
    cap = cv2.VideoCapture(0)
    face_cascade = cv2.CascadeClassifier(cv2.data.haarcascades + 'haarcascade_frontalface_default.xml')

    count = 0
    while True:
        ret, frame = cap.read()
        if not ret:
            break

        gray = cv2.cvtColor(frame, cv2.COLOR_BGR2GRAY)
        faces = face_cascade.detectMultiScale(gray, scaleFactor=1.1, minNeighbors=5)

        for (x, y, w, h) in faces:
            count += 1
            face_img = frame[y:y + h, x:x + w]
            filename = f"student_faces/{student_id}_{student_name}_{count}.jpg"
            cv2.imwrite(filename, face_img)
            cv2.rectangle(frame, (x, y), (x + w, y + h), (255, 0, 0), 2)

        cv2.imshow("Capture Student Face", frame)

        if cv2.waitKey(1) & 0xFF == ord('q') or count >= 10:
            break

    cap.release()
    cv2.destroyAllWindows()
    print(f"Captured {count} face images for {student_name}.")
运行该代码,系统会打开摄像头捕捉学生的人脸并保存至本地。
3.2 人脸识别核心逻辑
接下来,我们将实现人脸识别功能。
- 提取实时摄像头画面中的人脸特征。
- 将特征与数据库中的已存人脸进行比对。
代码示例:人脸识别
import numpy as np
import face_recognition

def recognize_face():
    # 加载已存人脸数据
    face_data = {}
    for file in os.listdir("student_faces"):
        img = face_recognition.load_image_file(f"student_faces/{file}")
        encoding = face_recognition.face_encodings(img)[0]
        name = file.split("_")[1]
        face_data[name] = encoding

    # 打开摄像头识别
    cap = cv2.VideoCapture(0)
    while True:
        ret, frame = cap.read()
        if not ret:
            break

        rgb_frame = cv2.cvtColor(frame, cv2.COLOR_BGR2RGB)
        face_locations = face_recognition.face_locations(rgb_frame)
        face_encodings = face_recognition.face_encodings(rgb_frame, face_locations)

        for face_encoding, face_location in zip(face_encodings, face_locations):
            matches = face_recognition.compare_faces(list(face_data.values()), face_encoding)
            name = "Unknown"

            if True in matches:
                matched_idx = matches.index(True)
                name = list(face_data.keys())[matched_idx]

            # 在画面上显示姓名
            top, right, bottom, left = face_location
            cv2.rectangle(frame, (left, top), (right, bottom), (0, 255, 0), 2)
            cv2.putText(frame, name, (left, top - 10), cv2.FONT_HERSHEY_SIMPLEX, 0.9, (0, 255, 0), 2)

        cv2.imshow("Recognize Face", frame)

        if cv2.waitKey(1) & 0xFF == ord('q'):
            break

    cap.release()
    cv2.destroyAllWindows()
3.3 构建 PyQt5 用户界面
PyQt5 用于构建交互式的图形界面,让用户更直观地使用签到系统。
代码示例:创建界面
import sys
from PyQt5.QtWidgets import QApplication, QMainWindow, QPushButton, QLabel

class MainWindow(QMainWindow):
    def __init__(self):
        super().__init__()
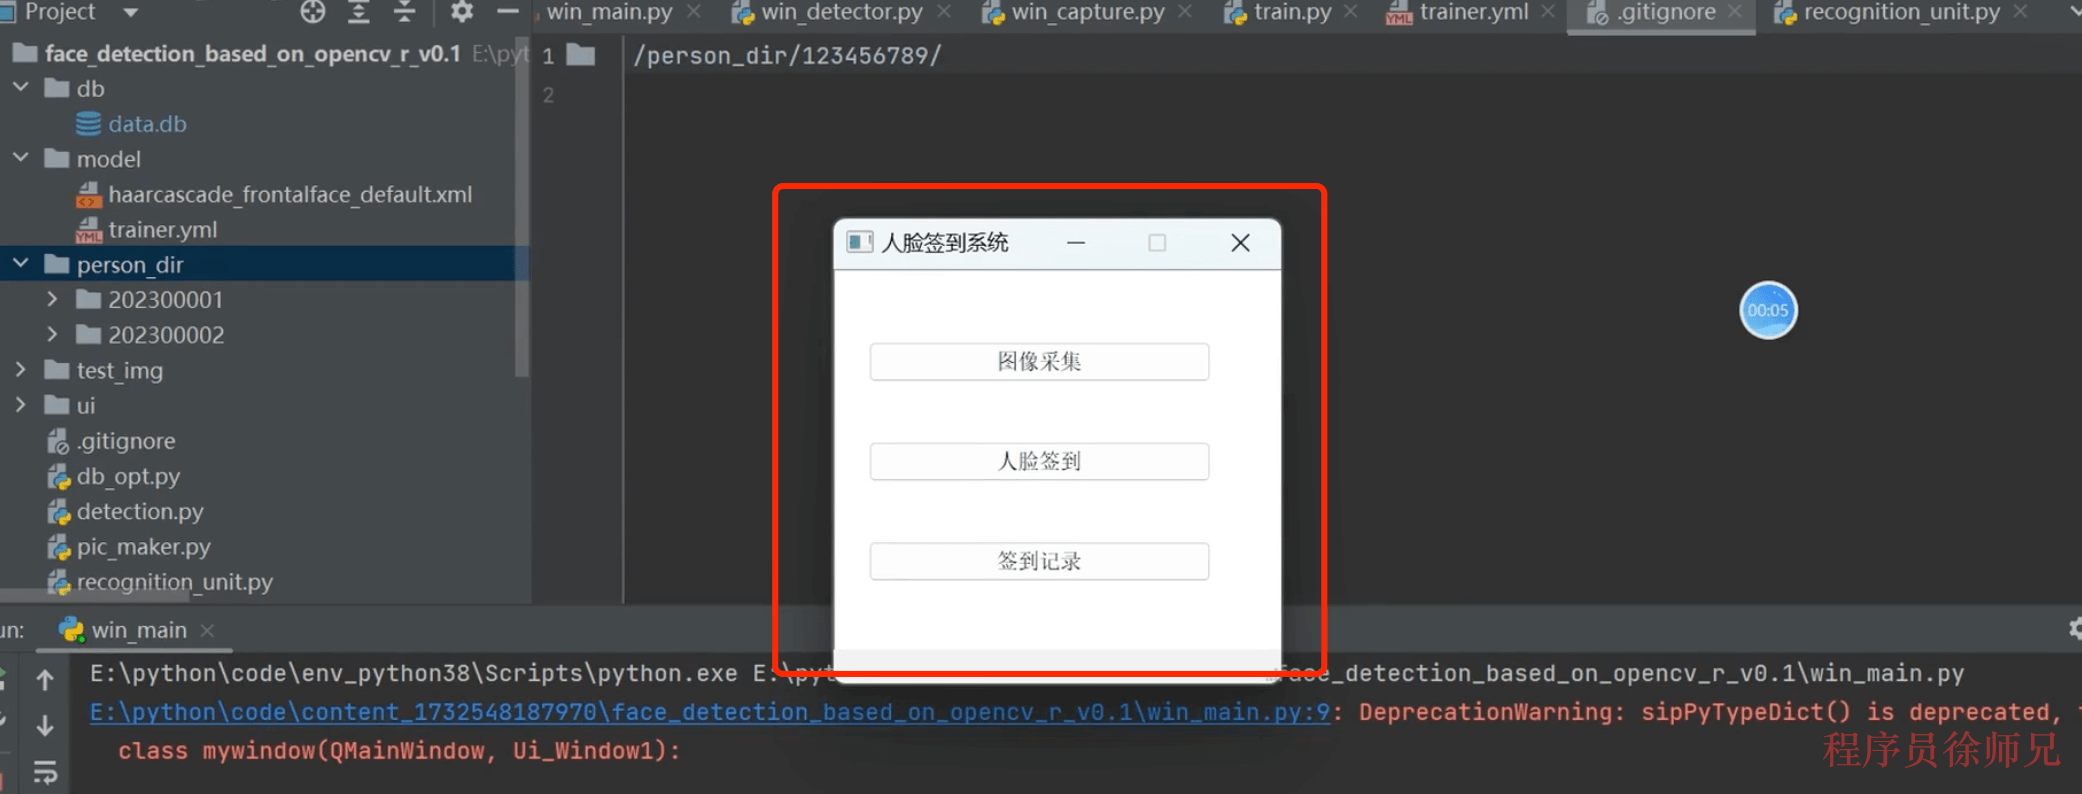
        self.setWindowTitle("人脸识别签到系统")
        self.setGeometry(100, 100, 600, 400)

        # 添加按钮
        self.capture_button = QPushButton("录入人脸", self)
        self.capture_button.setGeometry(50, 50, 150, 50)
        self.capture_button.clicked.connect(self.capture_face)

        self.recognize_button = QPushButton("开始签到", self)
        self.recognize_button.setGeometry(50, 150, 150, 50)
        self.recognize_button.clicked.connect(self.start_recognition)

    def capture_face(self):
        student_id = input("请输入学号: ")
        student_name = input("请输入姓名: ")
        capture_student_face(student_id, student_name)

    def start_recognition(self):
        recognize_face()

if __name__ == "__main__":
    app = QApplication(sys.argv)
    window = MainWindow()
    window.show()
    sys.exit(app.exec_())
3.4 数据管理与导出
签到结果可以使用 Pandas 进行管理,并支持导出到 Excel 文件中。
代码示例:记录签到结果
import pandas as pd
from datetime import datetime

def save_attendance(name):
    record = {"Name": name, "Time": datetime.now().strftime("%Y-%m-%d %H:%M:%S")}
    if not os.path.exists("attendance.csv"):
        df = pd.DataFrame([record])
    else:
        df = pd.read_csv("attendance.csv")
        df = df.append(record, ignore_index=True)
    df.to_csv("attendance.csv", index=False)
    print(f"{name} 签到成功!")
在 recognize_face 方法中,每次识别到已知人脸时,调用 save_attendance 保存签到记录。
四、运行效果展示
完整运行程序后,系统将具备以下功能:
- 录入学生人脸信息。
- 实时打开摄像头识别人脸。
- 自动保存签到结果。
五、总结
通过本文,我们实现了一个简单的基于 Python、OpenCV 和 PyQt5 的人脸识别上课签到系统。新手可以根据本文的代码理解基本的图像处理和图形界面设计原理,并在此基础上扩展更多功能,如:
- 添加未签到人员提醒。
- 实现多摄像头支持。
- 优化识别算法,提高准确率。
欢迎大家尝试并分享自己的改进!


暂无评论内容